Monday, January 31, 2011

Enjoying the Moment


I am working from home this week with both toddlers in tow.  No, I haven't officially lost it.  I just have some schedule juggling for the week.

Day one has been a hectic blur to say the least.   After juggling office duties with mommy duties, Jack and I are taking a little break.  It's moments like these that make the chaos a distant memory.

Thursday, January 27, 2011

Valentine's Day Countdown {Tutorial}


My brain has been on project overload this week.  Either I am really inspired, or I am still avoiding the laundry. Whatever the reason, I have been having a blast!  Valentine's Day has always been my favorite holiday, so why not countdown the days until February 14th?!?  Nothing better than getting your children all hyped up for the day...right?


Supplies you will need:


  • 14 Valentine cards (the dollar store has a great selection)
  • Ribbon (I found this ribbon at the Dollar Spot in Target)
  • 16 Wooden clothespins (I used the small size)
  • Red and white card stock
  • Craft glue
  • Number stickers (you will need enough to make the numbers 1-14)
  • Hanging shoe organizer
  • Various Valentine's Day treats
Attach a strip of ribbon to the front of each clothespin using craft glue.  I used the small clothespins, but the regular size will work too.  Let those dry while you work on the rest of the project.
Separate the Valentine's Day cards.  I laminated these to help them survive my toddler duo, but it is not necessary.
Use the number stickers to place a number (1-14) on each card. 
Make a pattern you like as you attach the number stickers.
Use the red and white card stock to make a Valentine's Day Countdown sign.  You can hand write it, use stickers, or print it from the computer.  I printed this one and backed it with red card stock.  I laminated this as well...just a little obsessed with my new toy!
This shoe organizer had six rows of four pockets.  I cut of the two bottom rows, so that I had 16 pockets total.
Hang on the back of a door.  I hung mine on the door leading to our garage, so we can countdown as we leave for the day.  I used the removable 3m hooks, so that I don't damage the door when it comes down after the holiday.
Attach the countdown sign to the top of the organizer using two ribbon covered clothespins.
Attach the Valentine's Day card with the rest of the clothespins.  I started with the #1 card in the top left corner.
Place the last two cards in the middle of the last row.
Yes, I chose a lot of candy for my treats.  To be honest, it was the most inexpensive and easiest to find.  Next year, I will plan in advance and pick some non-sugary items.

Place the treats in the pockets behind the Valentine's Day cards.  I placed enough treats to cover all three of my darlings.
Begin counting down the days on February 1st.
When you countdown a day, take of the Valentine's Day card and place it in the pocket, and let your little or big ones enjoy the treats!

My total cost for this project was less than $15.  Having the shoe organizer in my stash helped keep down the cost, but these can be picked up anywhere for a minimal price.

Now if I can just keep my children from swiping all the treats before we get to February 1st!

I am linked up to some great parties with tons of ideas....The Shabby Nest, Fingerprints on the Fridge, I Heart Naptime, and A Few of My Favorite Things.

Wednesday, January 26, 2011

Valentine's Day Chair Backer {Tutorial}


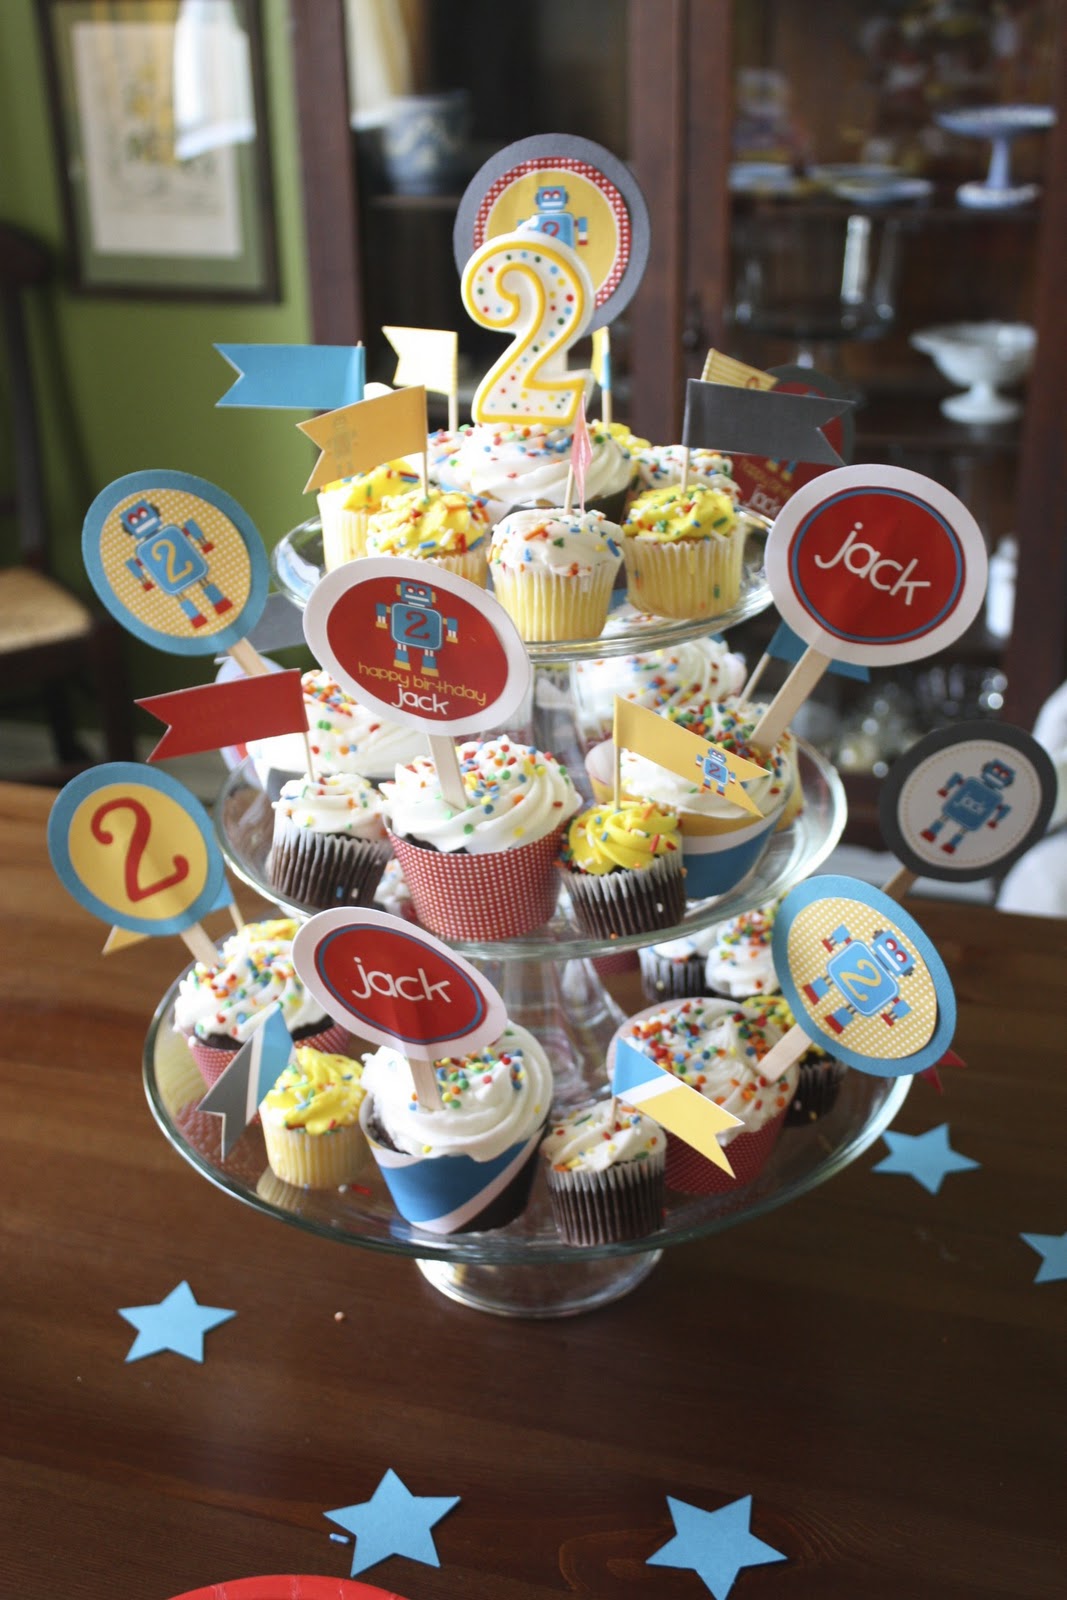
Now that Jack's birthday party is over, and the house is back in order...well almost back in order...I have moved on to some fun projects for Valentine's Day.

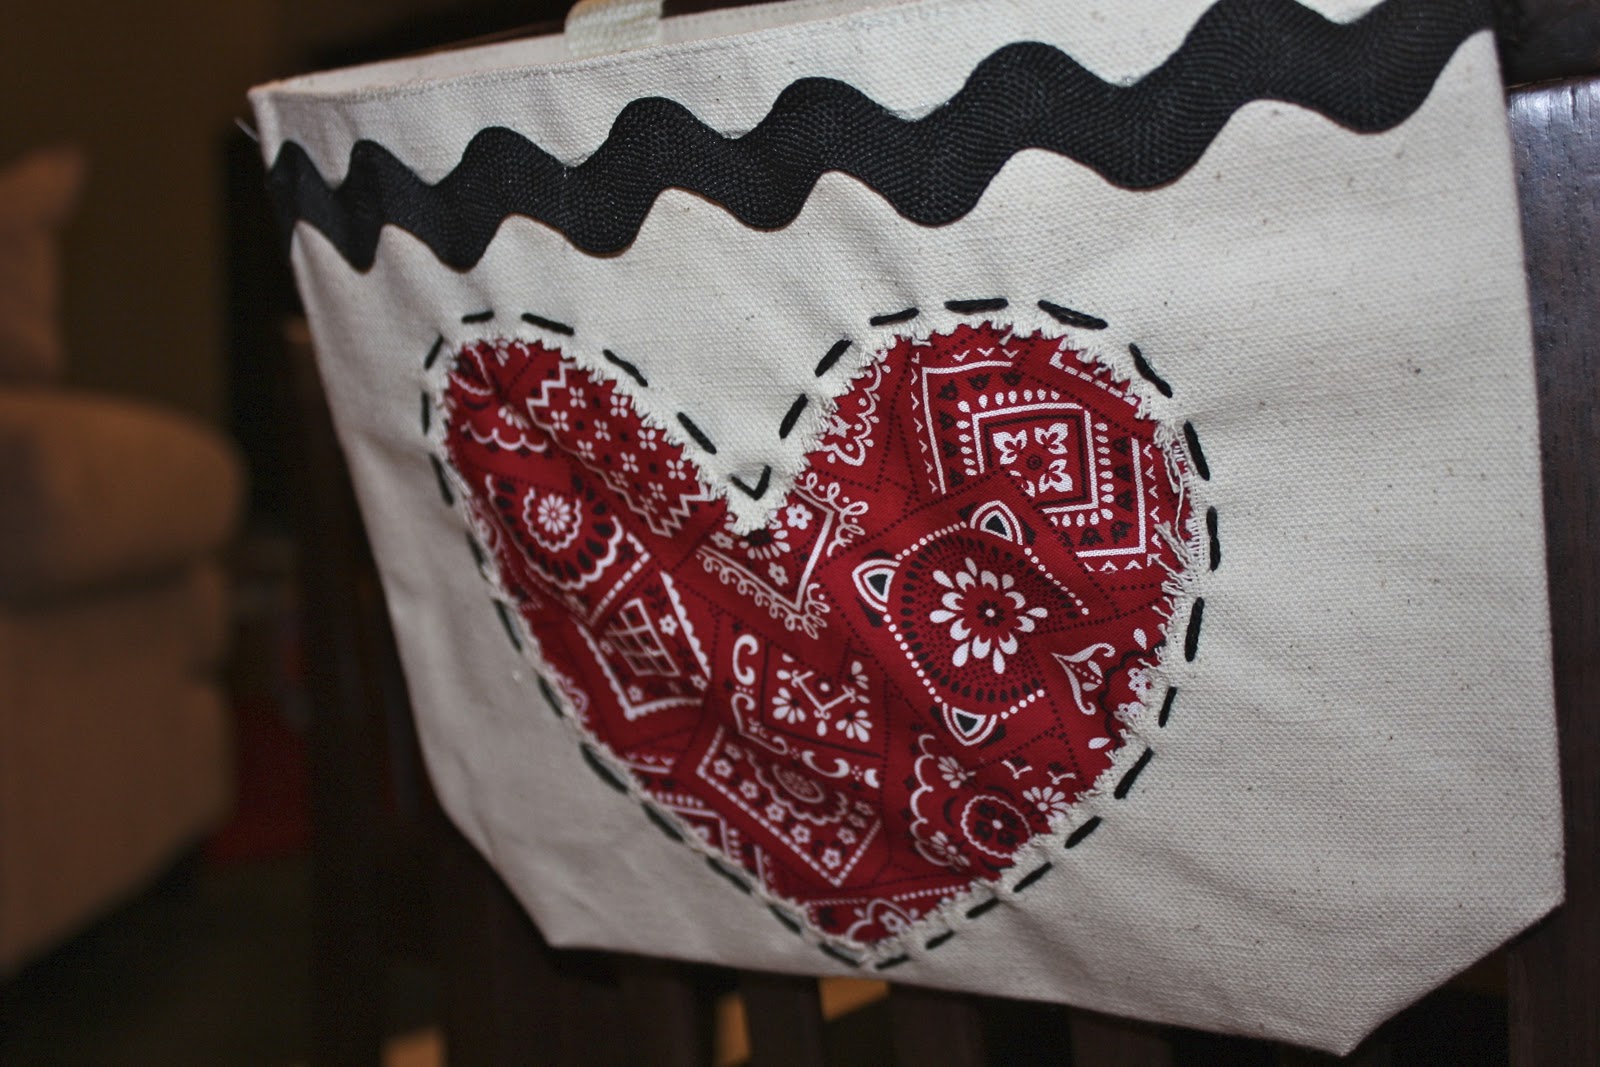
I have been dreaming about creating a knock-off of this...

Valentine's Day Chairbacker

I can use my sewing machine...I can even thread the bobbin!  BUT, I wouldn't claim to be a seamstress. Attempting this type of chair backer would be challenging, and at the moment I do not have the patience for anything challenging.  

So instead of attacking the mounds of laundry overtaking my house, I went to my #2 happy place...Hobby Lobby.  I {heart} that place.  After wandering the aisles a bit, I came up with an idea for a chair backer that wouldn't involve dusting off my sewing machine.


Supplies you will need:
  • Small canvas tote bag
  • Fabric (approximately a 12 in square)
  • Coordinating trim or ribbon
  • Coordinating embroidery thread
  • Fabric glue (I used Fabri-Tac)
  • Snap fastening kit
  • Card stock
  • Pencil
  • Scissors and/or pinking shears

Cut out a heart from card stock large enough to cover most of the tote bag while leaving about a two inch border.


Turn the bag inside out and trace heart onto bag.


Cut heart out of bag using pinking shears or scissors.  I used pinking shears to give the edge a nice tattered look.


Fray the edges a little more if desired.


Use the same heart pattern and cut a heart out of the fabric square.  Leaving a border at least 2 inches wide.


Use fabric glue to attach the fabric (pattern side down) onto the bag.  I placed a very thin bead of glue along the edge of the fabric heart.


Once the glue is dry, turn the bag back inside itself and cut off the handle attached to the front of the bag.


Cut the handle attached to the back of the bag in half, but leave it attached to the bag.


Add trim to the top of the bag.  I attached my trim to both sides of the bag.


Use the embroidery thread to sew a simple running stitch around the heart.


Use the snap fastener to attach snaps to the two ends of the handle that was cut in half.


Attach the other half of the snap to the back of the bag.


Make sure it is lined up to snap together correctly.


Attach to back of chair and enjoy!

Delaney Bug has been SO into making cards for everyone lately...everyone gets a card...everyday.  Sweet Girl!  She is going to be THRILLED to make Valentine's and deliver them to her brothers in these bags...


Jude's bag.


And Jack's bag.

Even the boy versions are too cute!

I made all three bags for less than $20!  It also took me only about an 1 1/2 hours to make all three bags.  I am so pleased with how they turned out, and even more tickled that they took so little time and money!  I can't wait to fill these with Valentine's Day goodies for my little angels.

Check out other great ideas at these link parties:


  Photobucket


Sunday, January 23, 2011

Robot Birthday Party

I love to plan parties.  When I was single and childless I would regularly have friends over for every possible occasion.  If there wasn’t a reason to have a gathering, I would create an occasion that we needed to celebrate.  I just love the whole planning, creating, and cooking tasks involved.  Call me nuts, but it’s true.  I tend to thrive under pressure.
I haven’t been having many parties or planning much of anything lately.  Now that Jack is 2 and Jude is heading towards 1, I am coming out of my baby blur.  For me the first year of both my boys' lives have been all about survival.  
So, when it was time to plan Jack’s 2nd birthday party I was MORE than ready to dust off my party planning skills.  He had a lovely little party last year, but with being 8ish months preggo with Jude…it didn't meet my normal standards as a hostess.
This year was a tad different…
If you read this blog regularly, you are very aware that my Cracker Jack is obsessed with robots, or “bobots” as he likes to call them…so we had a Robot Party…
I found this darling shop on Etsy, Love the Day.  She has A.DOR.ABLE custom printable parties.  Not only does she have totally cute Robot Party package, but she also has a nice selection of parties for many ages and celebrations. Check out her really cool blog to get other great party ideas.
The signs, cupcake toppers, cupcake wrappers, goodie bag decorations, etc. are all from the printable package I ordered from Love the Day.  So pleased with how they turned out!

I have always wanted to make these tissue paper pom poms to decorate for a party.  You can find instructions HERE…these took hardly any time to make.  I put them up a week early in efforts to space out my party planning tasks.  The kids were in LOVE!  I don’t know if they will ever let me take them down.  The star garlands are just diecut stars sewn together.  Again, super easy to put together!

We had about ten children in attendance…all age 6 and under!  To prevent complete chaos with so many young ones, I had a few activities set up in various stations around the house.   There wasn’t a set schedule, I just let parents help the kids choose what they would like to do.
Robot building with marshmallows and pretzel sticks…
And a robot craft made from self-adhesive foam pieces.  These were all precut and packaged in freezer bags…
I also had some basic coloring pages downloaded from free printable websites.
I ordered barbeque from a local place and made mini pizzas for the kiddos.  I like to wrap up plasticware together in napkins so that everything is easy to grab when my guests are making plates for themselves and their little ones.
A drink and snack station were set up to make sure everyone stayed fed and watered!

I think my favorite part of the party was putting together the goodie bags.  Sounds silly, but I have always looked forward to the whole goody bag making event...so much fun!  Everything was ordered from Oriental Trading.  They have a large selection of robot goodies.  I simply had a ball putting these together! 

I also labeled some basic lunch sacks for the kids to take their goodies and crafts home.

Jer surprised me by decorating our walkway with sidewalk chalk.  It was his special party planning touch.  SO COOL!  This is why I call him my Prince.


What a great day!  Everyone had a great time, especially the birthday boy.  How could you not with all that sugar!  Just look at all of it!
Now on to dreaming up something just as exciting for Sweet Baby Jude!

Check out some other great ideas at...


Photobucket


The Girl Creative Photobucket


Related Posts Plugin for WordPress, Blogger...